Walkthrough 3-5: Share an API
In this walkthrough, you share an API with both internal and external developers to locate, learn about, and try out the API. You will:
· Share an API within an organization using the private Exchange.
· Create a public API portal.
· Customize a public portal.
· Explore a public portal as an external developer.

Starting file
If you did not complete the previous walkthrough, you can get a starting file here. This file is also located in the solutions folder of the student files ZIP located in the Course Resources.
Share the API in the private Exchange with others
1. Return to your American Flights API in Exchange.
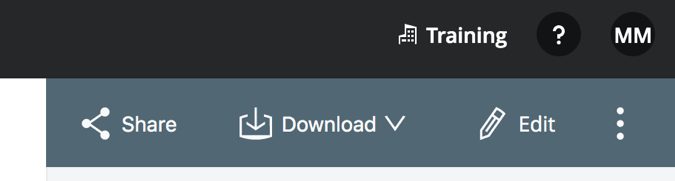
2. Click Share.
3. In the Share dialog box, you should see that you are an Admin for this API.
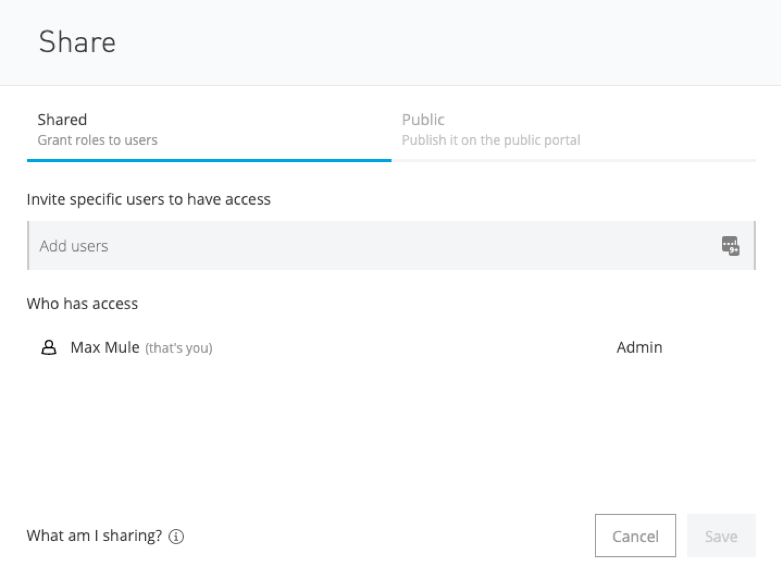
4. Click Cancel.
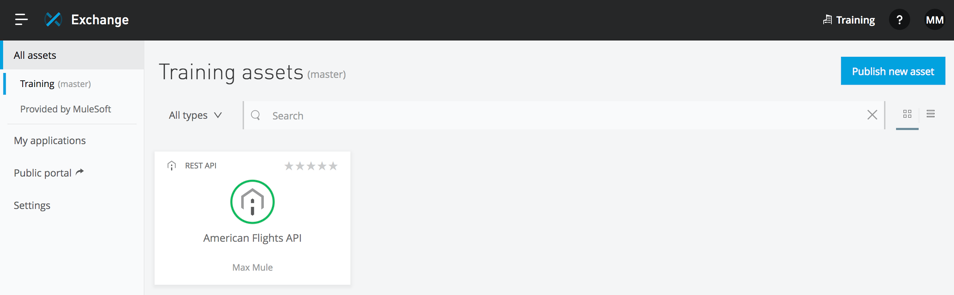
5. In the left-side navigation, click Assets list.
6. In the left-side navigation, select the name of your organization.
7. Click your American Flights API.
Note: This is how users you share the API with will find the API.
Create a public API portal
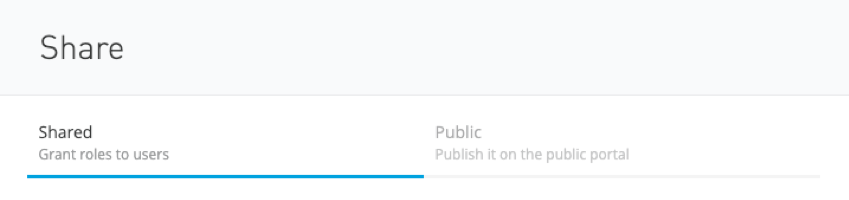
8. Click the Share button for the API again.
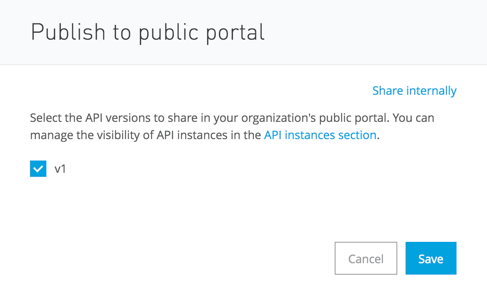
9. In the Share dialog box, click the Public tab.
10. Select to share v1 of the API.
11. Click Save.
Explore the API in the public portal
12. In the left-side navigation, click Assets list.
13. In the left-side navigation, select Public Portal.
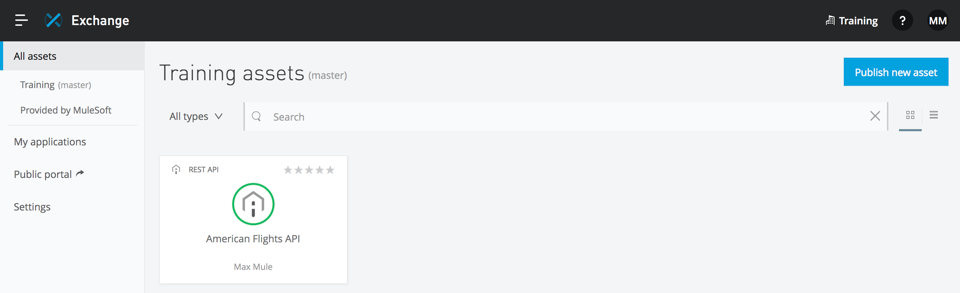
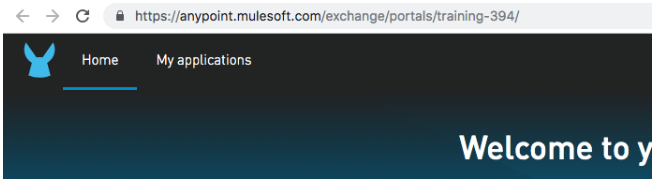
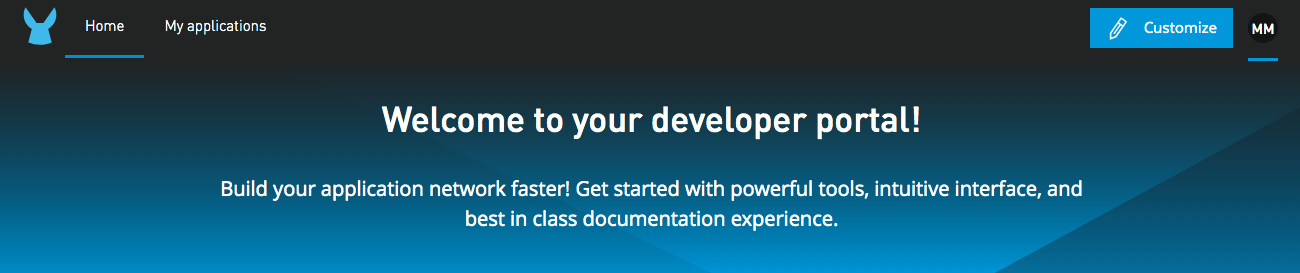
14. Review the public portal that opens in a new browser tab.
15. Look at the URL for the public portal.
16. Click your American Flights API and review the auto-generated public API portal.
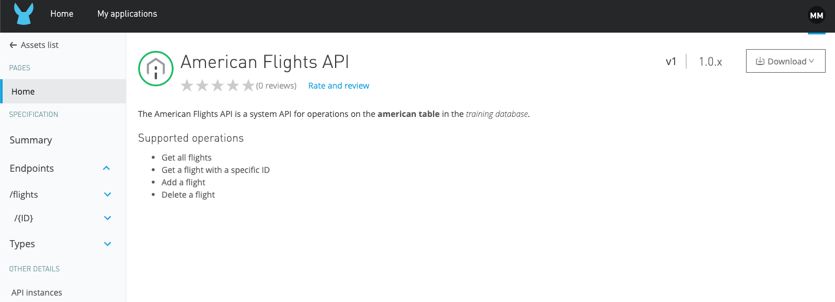
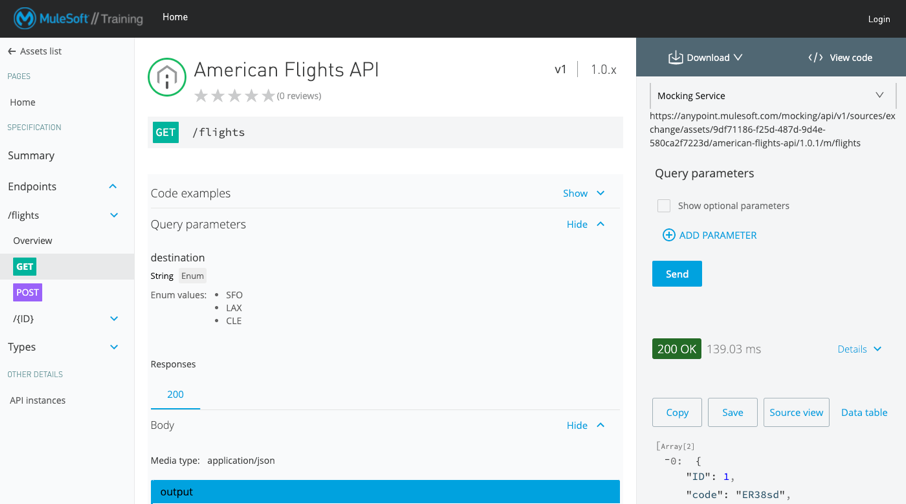
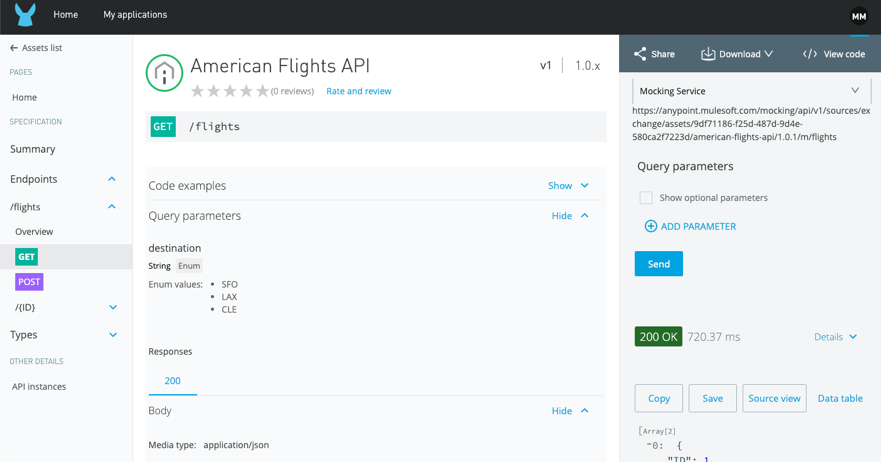
17. In the left-side navigation, click the GET method for the flights resource.
18. Review the response information.
19. In the API console, click Send; you should get a 200 response with example flights returned from the mocking service.
20. In the left-side navigation, click Assets list.
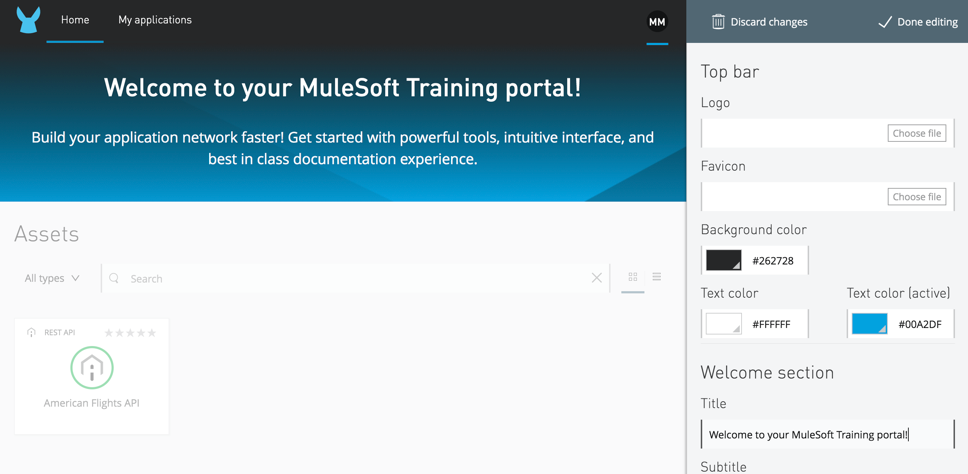
21. Click the Customize button.
22. In the Title field, change the text to Welcome to your MuleSoft Training portal!
23. In the logo field, click Choose file.
24. In the file browser dialog box, navigate to the student files and locate the MuleSoft_training_logo.png file in the resources folder and click Open.
25. Locate the new logo in the preview.
26. In the hero image field, click Choose file.
27. In the file browser dialog box, navigate to the student files and locate the banner.jpg file in the resources folder and click Open.
28. Review the new logo and banner in the preview.
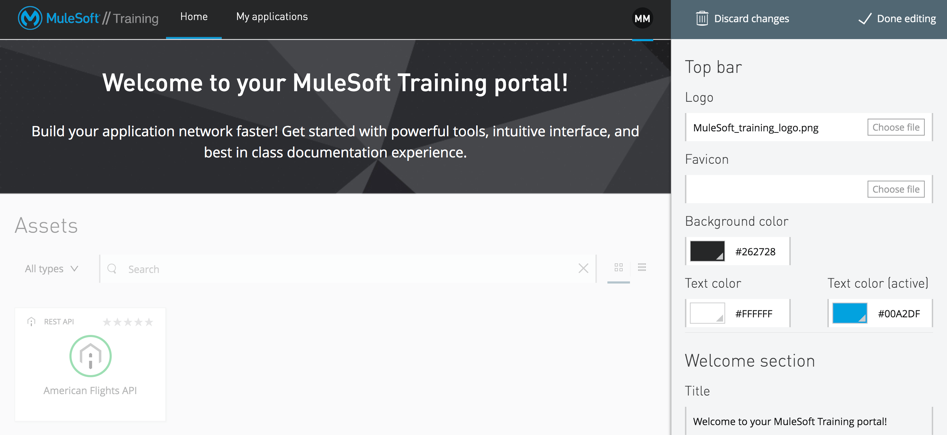
29. Change any colors that you want.
30. Click the Done editing button.
31. In the Publish changes dialog box, click Yes, publish; you should see your customized public portal.
Explore the public portal as an external developer
32. In the browser, copy the URL for the public portal.
33. Open a new private or incognito window in your browser.
34. Navigate to the portal URL you copied; you should see the public portal (without the customize button).
35. Click the American Flights API.
36. Explore the API portal.
37. Make a call to one of the resource methods.
Note: As an anonymous user, you can make calls to an API instance that uses the mocking service but not managed APIs.